



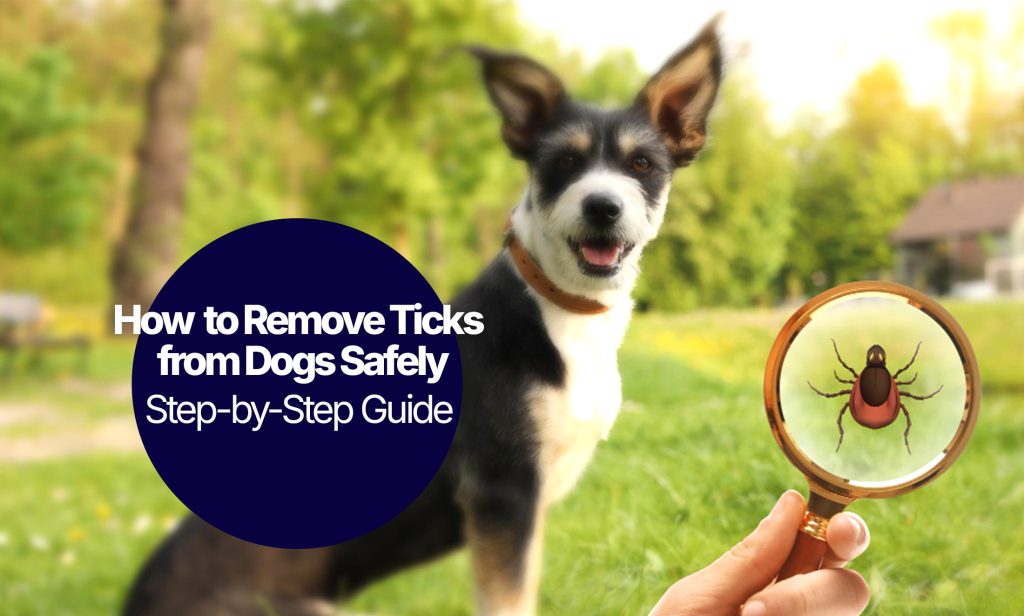
Finding a tick on your dog is unsettling, and most owners freeze for a second wondering what to do next. The good news is that removing a tick safely takes just a few steps and the right tool. This guide walks through how to spot ticks early, remove them properly, and know what to watch for afterward.
How Do You Spot a Tick on Your Dog?
You spot a tick on your dog by checking the warm, hidden areas of their body during regular grooming, since ticks tend to settle where fur is thickest and skin is warmest.
Check these spots often:
- Around the ears and inside the ear flaps
- Between the toes and paw pads
- Under the collar
- Armpits and groin
- Along the belly and chest
- Around the base of the tail
What Does a Tick Look Like on a Dog?
An unfed tick looks like a tiny, dark speck, flat and oval, roughly the size of a sesame seed. Once it’s been feeding for a while, it swells up, sometimes to the size of a small grape, and turns a greyish or olive colour. Running your hands through your dog’s coat, you might feel it as a small, unfamiliar bump before you actually see it.
Watch for these signs too, since you may notice them before you spot the tick itself:
- Scratching or licking at one spot more than usual
- Red, irritated skin
- Small bumps or swelling
- Lethargy or a drop in appetite, which can point to a tick-borne illness rather than the bite itself
Tick activity peaks in warmer months but can continue year-round in mild weather, so don’t assume winter means you’re in the clear.
Tools You Need for Safe Tick Removal
Having the right tools makes tick removal much easier and safer for both you and your dog. Here’s your tick removal toolkit:
Essential Items
Tick removal tools:
- Fine-pointed tweezers or tick removal hook
- Tick removal card (available at pet stores)
- Magnifying glass (helpful for tiny ticks)
Cleaning supplies:
- Rubbing alcohol or an antiseptic solution
- Cotton balls or gauze pads
- Disposable gloves
- Small container with alcohol for tick disposal
For aftercare:
- Antibiotic ointment
- Treats to keep your dog calm and reward good behavior
What NOT to Use
Avoid these common household items that can actually make things worse:
- Petroleum jelly or oil
- Nail polish
- Matches or heat sources
- Dish soap
These methods don’t work and can cause the tick to regurgitate into your dog’s bloodstream, increasing infection risk.
How Do You Remove a Tick from a Dog Step by Step?
Ready to tackle that tick? Take a deep breath, you’ve got this! Follow these steps for safe, effective removal.
Step 1: Prepare Your Workspace
Find a quiet, well-lit area where your dog feels comfortable. Gather all your tools within easy reach. Put on disposable gloves to protect yourself from potential diseases.
Step 2: Calm Your Dog
Give your pup some treats and gentle praise. Having a helper to hold and comfort your dog can make the process smoother, especially for wiggly or anxious pets.
Step 3: Locate and Examine the Tick
Part your dog’s fur around the tick to get a clear view. Use a magnifying glass if needed. Make sure you can see where the tick’s head meets your dog’s skin.
Step 4: Grip the Tick Properly
Using fine-pointed tweezers or a tick hook, grasp the tick as close to your dog’s skin as possible. Don’t squeeze the tick’s body focus on grabbing near the head area.
Step 5: Remove with Steady Pressure
Pull straight up with steady, even pressure. Don’t twist, jerk, or rock the tick. The goal is to remove the entire tick, including the head, in one smooth motion.
Step 6: Check for Complete Removal
Examine the tick to ensure you got the whole thing. You should see the head and mouthparts. If part of the tick remains in the skin, don’t panic – your dog’s immune system will usually push it out naturally.
Step 7: Clean the Area
Disinfect the bite area with rubbing alcohol or an antiseptic. Clean your hands and tools thoroughly.
Step 8: Dispose of the Tick
Drop the tick into a container of rubbing alcohol to kill it. Never crush ticks with your fingers, as this can spread disease.
Common mistakes to avoid when removing Tick
Even well-meaning dog owners can make these tick removal errors. Let’s make sure you avoid them:
- Don’t Use Folk Remedies
Forget what your neighbor told you about using petroleum jelly, nail polish, or soap. These methods don’t work and can actually make the tick burrow deeper or release more saliva into your dog’s system.
- Don’t Grab the Tick’s Body
Squeezing the tick’s swollen body can force infected material back into your dog. Always grip near the head, close to the skin surface.
- Don’t Twist or Jerk
Sudden movements can break off the tick’s head, leaving parts embedded in your dog’s skin. Use slow, steady upward pressure instead.
- Don’t Forget to Clean Up
Proper cleanup protects your whole family. Disinfect tools, wash hands thoroughly, and dispose of the tick safely.
- Don’t Ignore the Bite Site
Keep an eye on the area for several days after removal. Some redness is normal, but watch for signs of infection or illness.
Tick Removal Aftercare for your Dog
Removing the tick isn’t the last step. Clean the area with antiseptic, apply antibiotic ointment if your vet has recommended one, and expect a small amount of redness or swelling for the first 24 to 48 hours.
Contact your vet if you notice:
- Redness or swelling that doesn’t settle down
- Signs of infection: pus, heat, or spreading redness
- Lethargy or loss of appetite
- Fever or a change in your dog’s usual behaviour
- Lameness or joint swelling
Comprehensive dog insurance can help with the cost if a tick bite leads to complications that need vet treatment.
Get in touch with your vet if you couldn’t remove the whole tick, if the bite site looks infected after two to three days, if your dog develops any symptoms of tick-borne illness, or if you’re simply unsure about anything during the process. It’s also worth noting the date and rough location where you found the tick, since that detail can help your vet if symptoms show up later.
How Do You Prevent Ticks in the First Place?
Prevention won’t guarantee a tick-free dog, but it makes a real difference.
1. Daily checks. Make it part of your routine, especially in peak season (roughly April through October ). Run your hands over your dog’s coat, feeling for anything unusual.
2. Prevention products. Spot-on treatments applied between the shoulder blades give about a month of protection. Tick collars last longer but aren’t right for every dog. Oral medications are also available on prescription. Always check with your vet before starting any of these, since the right choice depends on your dog’s size, age, and lifestyle. The Veterinary Medicines Directorate publishes guidance on approved tick prevention products in the UK.
3. Environmental steps. Keep grass cut short and clear leaf litter, since both are places ticks like to wait. Stick to paths in wooded or grassy areas where you can, and check your dog (and yourself) afterward.
Tick-Borne Diseases You Should Know
Lyme disease is the best-known tick-borne illness, but it’s worth being clear about the numbers here: official figures from Public Health England and NICE put confirmed human cases at around 1,000 a year in England and Wales, though several independent studies suggest the real number, including cases that aren’t lab-confirmed, is likely several times higher. Dogs can also contract Lyme disease from an infected tick, though UK figures specifically for dogs are harder to pin down. Symptoms in dogs can include lameness, fever, and lethargy, though many infected dogs show no signs at all early on.
Babesiosis is less common in the UK but more serious, since it affects red blood cells and can cause anaemia.
Ehrlichiosis and anaplasmosis are present too, though diagnosed less often
Conclusion
Tick removal doesn’t have to be a scary experience for you or your dog. With the right knowledge, tools, and techniques, you can confidently handle these situations and keep your furry friend safe and healthy.
Remember the key points: remove ticks promptly using proper tweezers or tick removal tools, pull straight up with steady pressure, clean the area thoroughly, and monitor your dog for any signs of infection or illness. Prevention is always better than cure, so make regular tick checks part of your routine and consider veterinary-approved tick prevention products.
Your dog depends on you to be their health advocate. Every tick you remove safely reduces their risk of serious tick-borne diseases. Stay calm, be prepared, and don’t hesitate to contact your vet if you have any concerns about tick removal or your dog’s health.
With these skills in your pet care toolkit, you’re ready to tackle tick season with confidence. Your pup will thank you for keeping them comfortable, healthy, and tick-free!